Multi String
Icon: |
|
| Menu: | Roads > Labels > Multi String General > Labels > Multi String |
| Ribbon: | Roads Tab > Plan Production Panel > Labels Dropdown > Multi String General Tab > Labels Panel > Multi String |
Introduction
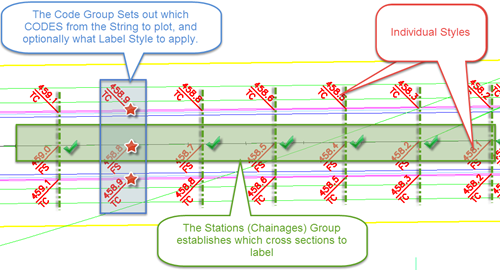
The Multi String command provides functionality to add plan labels to multiple strings at once, assuming labels are required along particular codes of the string/s and at particular chainage/s.
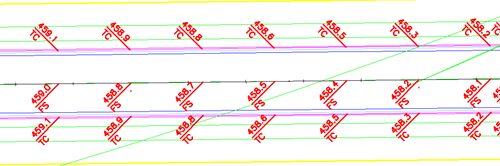
Below is an example output:
Multi String Plot Outputs - Controls
When using Multi Plot, users need to establish the codes to include in the labelling (the Code Group ) and where along the String/s to apply the labels (the Station/Chainage Group). A default Label Style is required, in case it is not assigned as part of the Code Group. Visual sketch of the controls is below:
Details
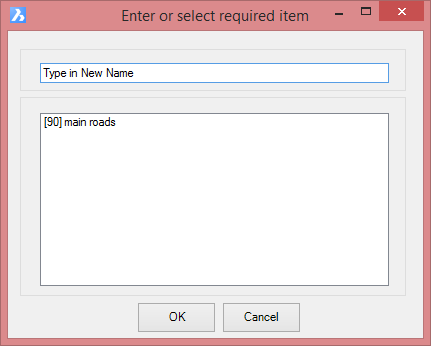
Upon selecting the command the following form is displayed:
|
|
|
|
New Label Group Name (Plot Name) |
Type in to create a new Label Group |
|
Label Group List |
List of label groups created. Select one to edit the label group. |
|
List of Label Groups |
List of named Label Groups |
|
OK |
Create a new Label Group or open a previously created Label Group |
|
Cancel |
Exit |
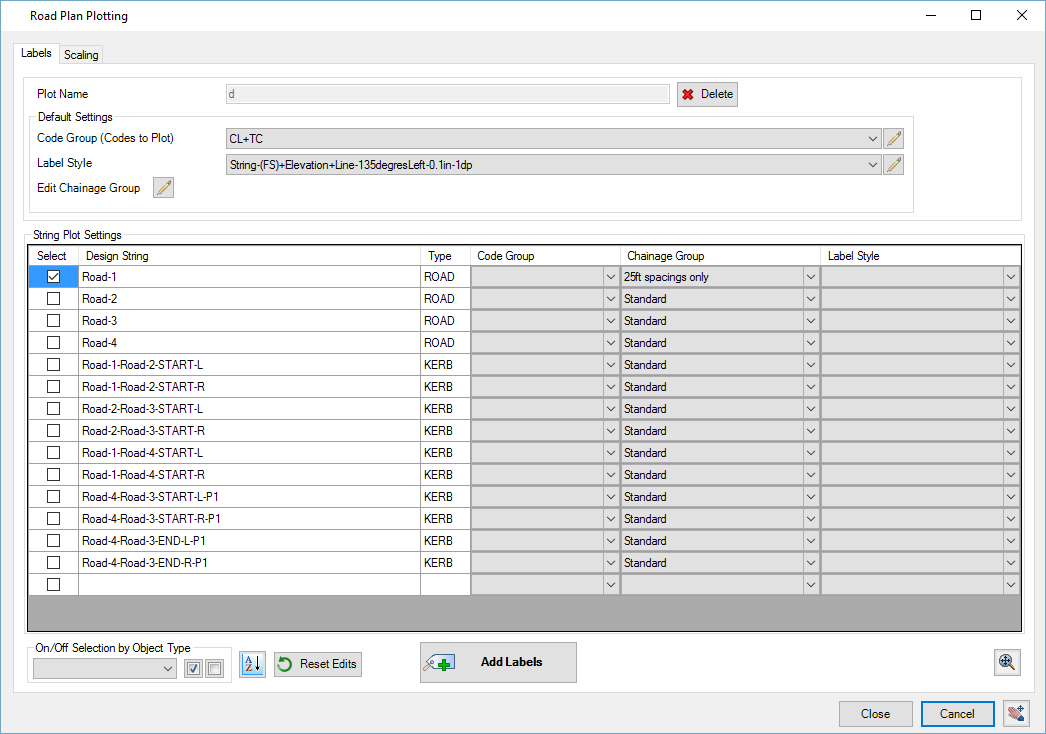
After clicking OK the following form is displayed:
|
|
|||||||||||||||||||||||||||||||||||||||||||||
|
Plot (Label Set) Name |
Name of the currently selected label set (not editable). |
||||||||||||||||||||||||||||||||||||||||||||
|
|
Delete the current Label Set Name with option to delete all associated label objects in drawing |
||||||||||||||||||||||||||||||||||||||||||||
|
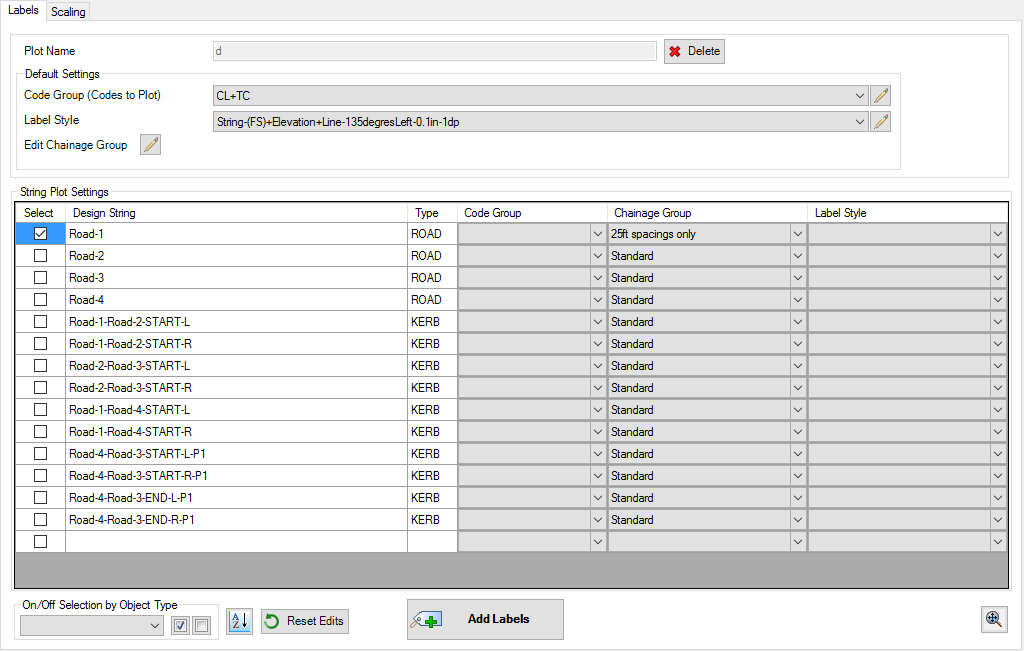
Labels Tab |
|
||||||||||||||||||||||||||||||||||||||||||||
|
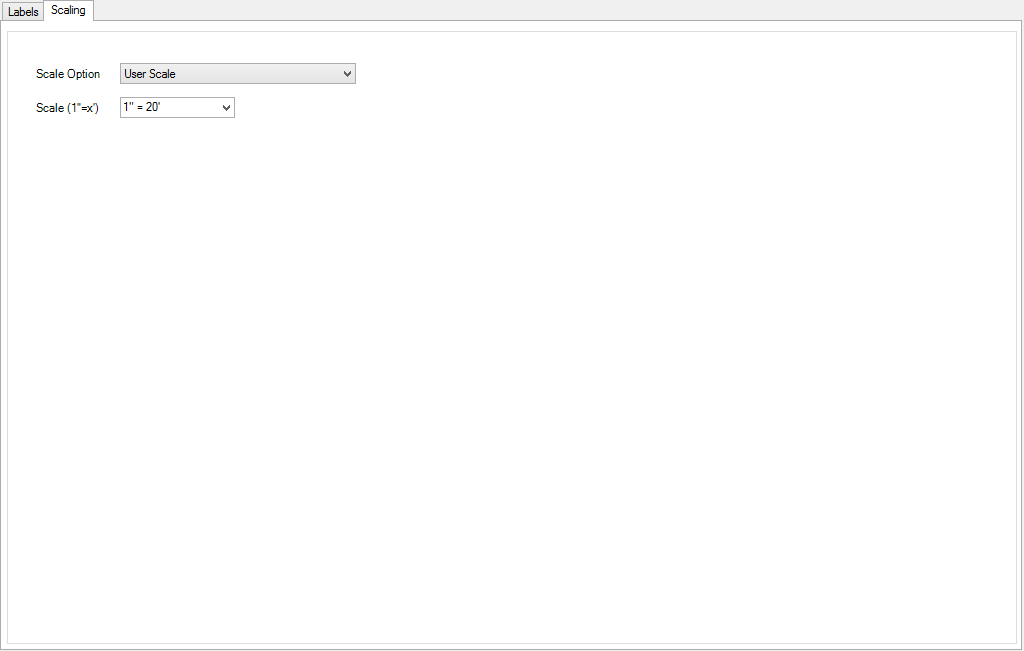
Scaling Tab |
This tab manages the scaling of the labels within the drawing |
||||||||||||||||||||||||||||||||||||||||||||
|
|
|
||||||||||||||||||||||||||||||||||||||||||||
| Close | Close the form | ||||||||||||||||||||||||||||||||||||||||||||
| Cancel | Cancel actions on the form and close. | ||||||||||||||||||||||||||||||||||||||||||||
| Pan in the drawing. Press any key or left click the mouse button to return to the form. | |||||||||||||||||||||||||||||||||||||||||||||