Drive Through
Icon:
![]()
Ribbon: Model Viewer > Analysis Tab > Drive Through
Introduction
Starting a drive through will change the 3D view and commence animation along a road. The designer is able to establish eye and target position relative to the road, as well as speed.
The Drive interface and typical display is shown, below:
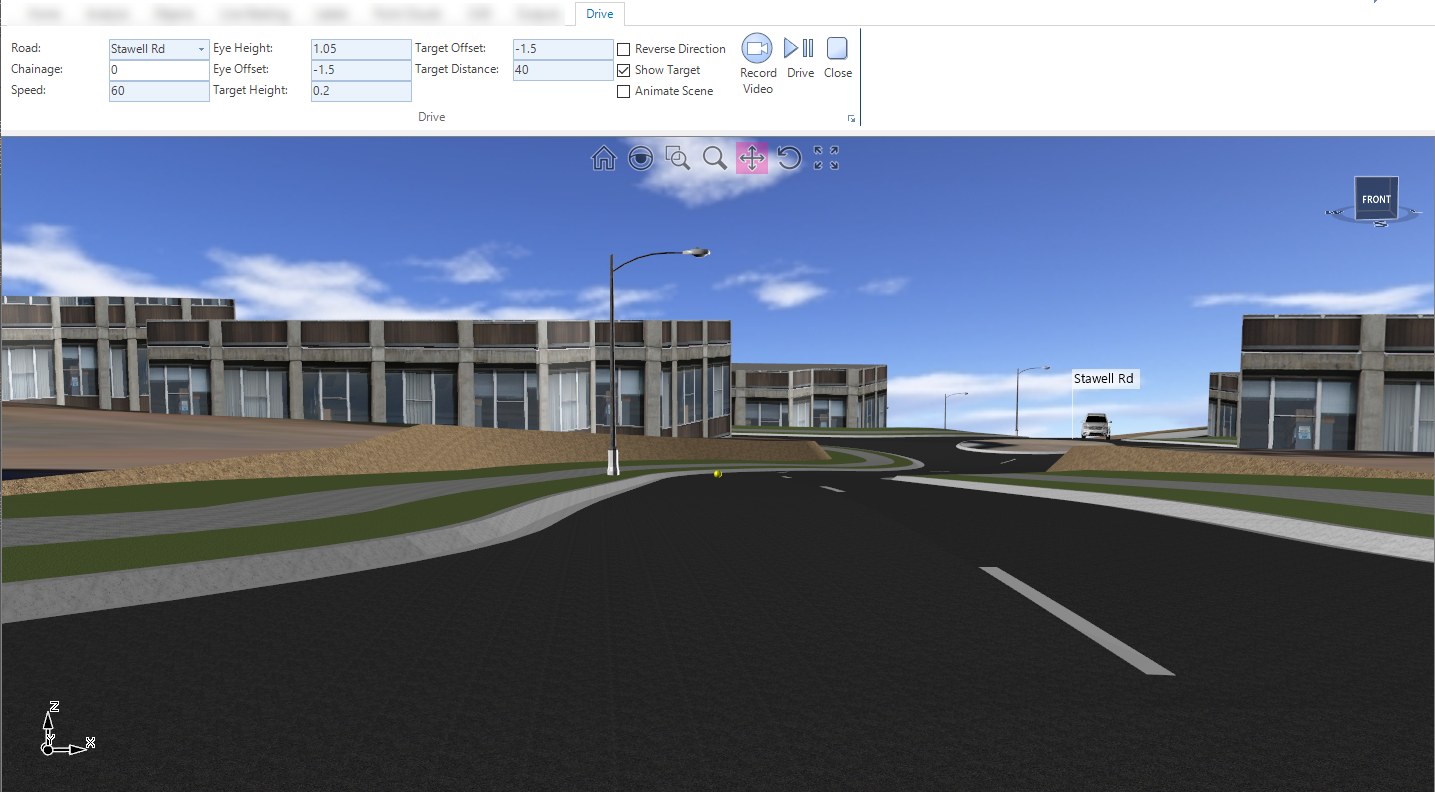
Shown, above, is the target marker. This is represented by a yellow ball on screen.
Information on navigation in the Model Viewer 3D environment is available when reviewing the Model Viewer command help.
Details
Once the Drive command is selected, a separate tab is displayed, with command inputs as follows:
|
|
|
|
Road |
Pick list to select the road to animate along |
| Chainage | Chainage updates as drive commences. A value can be typed in here to zoom the 'eye' position to that chainage |
| Speed | Type in a speed |
| Eye Height | Type in an eye height, measured relative to the road |
| Eye Offset | Type in a value for the offset, measured relative to the road |
| Target Height | Type in a target height, measured relative to the road |
| Target Offset | Type in a target offset, measured relative to the road |
| Target Distance | Type in a distance to the target, measured relative to the eye position along the alignment |
| Reverse Direction | Toggle to drive in the opposite direction to the alignment. |
| Show Target | Toggle on to display a sphere representing the target |
|
|
Record Video. The user can output an AVI file of the drive. When selected, the Create Video dialog will display. To begin processing of the video, users will be required to start the drive by pressing the Play button. To finish processing the video, users will be required to select the Play/Pause button from the Drive tab. |
|
|
Play/Pause toggle |
|
|
Close the drive mode |