Design Styles
Icon:
![]()
Ribbon: Model Viewer > Home Tab > Settings Panel > Design Styles
Introduction
The Design Styles command is used to create and edit design styles, which are required for the display of design surfaces in Model Viewer. Design Styles allow the user to assign materials to code combinations that make up a design surface model. A design surface is created using either the Auto Model, Model Builder or Grading commands within Civil Site Design.
A design surface model is made up of triangles and each point on a triangle is named with a code. For example, a triangle to form part of kerb and channel may consist of the three codes INV, INV, and TK - this is known as a code combination. Using the Design Style dialog, the user can assign materials to each of the code combinations that make up a design surface model.
Information on navigation in the Model Viewer 3D environment is available when reviewing the Model Viewer command help.
Details
Upon selecting the command the following form is displayed:
|
|
|
|
Design Style |
All available design styles
are listed here and can be opened and edited by the user.
Using the
|
|
Model |
A list of all design surfaces/models in the project are listed here. Code combinations from the selected model can be appended to the current design style. |
|
Append Codes |
All code combinations from the selected surface/model are appended to the code setup table. |
| Clear Codes | Clears all codes from the table |
|
Code Setup |
This table lists all code combinations. Materials that have been created via the Materials Group command can be assigned to a code combination. |
| Override Selected | The material for selected code combinations can be overriden using this option. The user simply selects multiple code combinations from the list and runs 'Override Selected' to apply the specified material group. |
| Override Unassigned | All entries with the 'NONE' material assigned, will be overridden with the selected Material Group |
|
OK |
Saves the current design style and closes the form |
|
Close |
Exit the form without deleting any data. |
Assign Material Group to Triangle
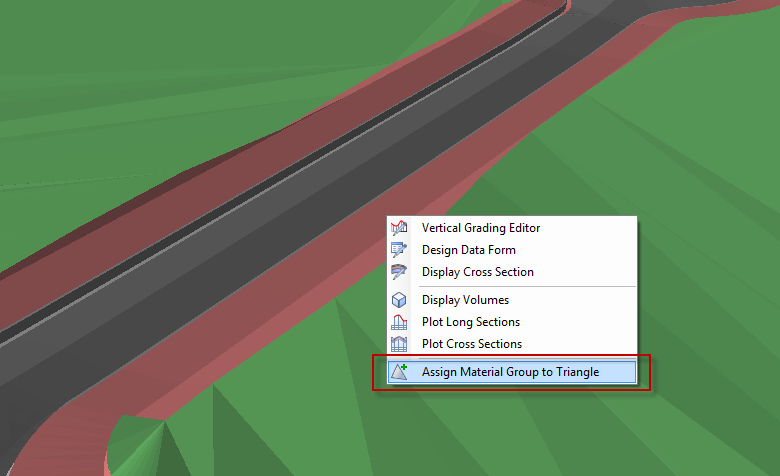
The easiest way to assign a material to a triangle (code combination) is via the Assign Material Group to Triangle command. This command allows the user to graphically select a triangle from the model and assign a material to it.
To use this method for assigning materials, it is first best to set the Model Viewer Visual Style to Shaded. Triangles that are shown in red do not have a material assigned to them. Next, the user right-clicks on the triangle they want to assign a material to and selects Assign Material Group to Triangle from the menu.
The following dialog will display:
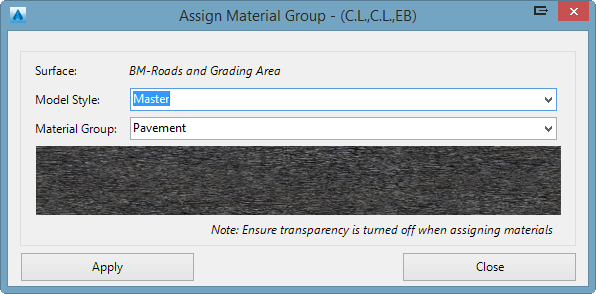
The dialog heading will display the codes that make up the code combination for the triangle in brackets. In the screenshot above, the codes C.L., C.L. and EB are shown. The user than selects the material group to be assigned and the design style that it is appended to.
Note: If transparency is turned on, the software might have issues selecting the triangle. It is recommended that transparency is turned off when using the above method.